Thinking about how to protect a cell in excel sheet of your document?
Okay let’s say you are having some sensitive details in Microsoft excel sheet and you do not want anyone to temper with it.
It could be in a computer with multiple unauthorized accesses.
The safest thing to do is to prevent anyone from modifying the content of the cell.
Also, you sometimes may need to protect the entire workbook or worksheet for protection of cells to take effect.
In this article, we will show you step by step on how to protect a cell in excel with no step skipped.
How to create a whatsapp group
Should you worry about 5G Networks or not?
Mysteries of Ai and Robots in this times and season
Things to Note before Protecting Your Excel Cells
- When you protect a cell in excel you will need to provide the password to access its content in
- When the content of a protected excel cell is modified, you still have to input the password before you can save it.
Here are Steps on How to protect a cell in excel
- Highlight or select the cell you want to protect
- Locate the Home tab, in the Alignment group
- Then click the small arrow to open the Format Cells popup window.
- On the Protection tab, select the Locked check box.
- And click Okay to close the popup.
Please note that protecting or locking a cell does not have any effect unless you have protected the workbook or worksheet.
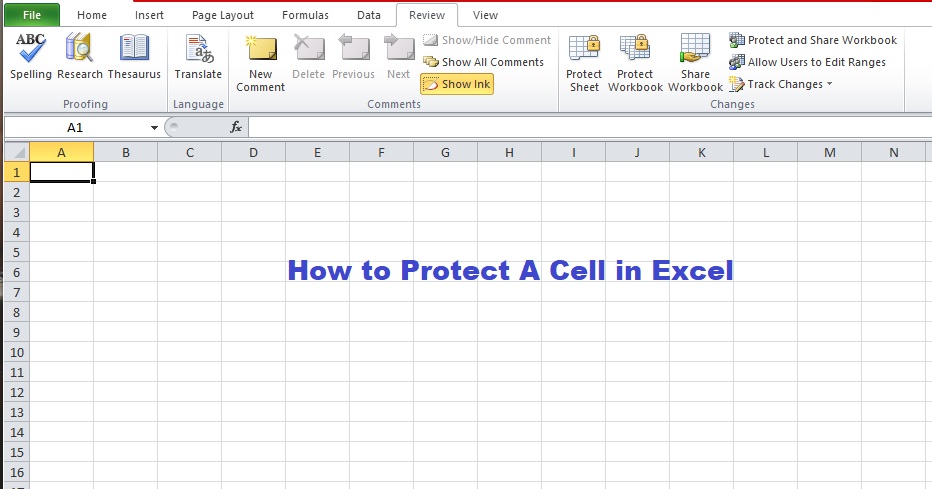
How to protect a worksheet or workbook
Click on Review tab
And click on Protect worksheet (for worksheet)
Also click on Review tab and hit the Protect workbook if you want to protect the workbook.
Type in your password and click okay.
Finally, save your worksheet so the protection can take effect.
We hope this steps on how to protect a cell in excel were easy and helpful.